 |
|||
 |
|||
| tutorial | ||||||||||||||||||||||||||||||||||||||||||||||||||||||||||||||||||||||||||||||||||||||||||||||||||||||||||||||||||||||||||||||||||||||||||||||||||||||||||||||||||||||||||||||||||||||||||||||||||||||||||||||||||||||||||||||||||||||||||||||||||||||||||||||||||||||||||||||||||||||||||||||||||||||||||||||||||||||||||||||||||||||||||||||||||||||||||||||||||||||||||||||||||||||||||||||||||||||||||||||||||||||||||||||||||||||||||||||||||||||||||||||||||||||||||||||||||||||||||||||||||||||||||||||||||||||||||||||||||||||||||||||||||||||||||||||||||||||
create new web application
This page shows how to simply create a new web application
and access it with user accounts.
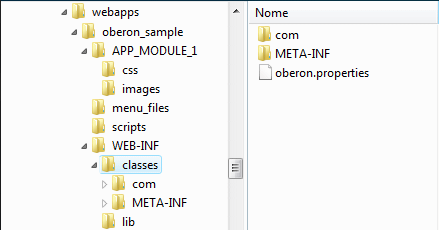
deploy the war into your application server; this will create a new webapp folder named "oberon_sample":
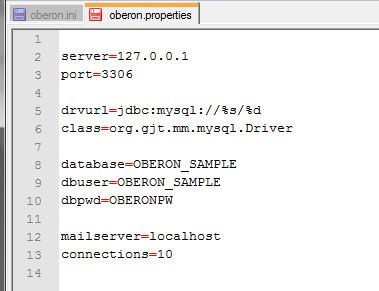
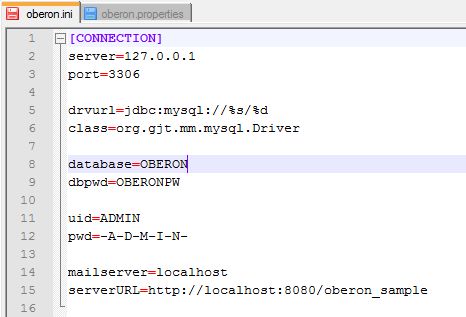
Open the "oberon.properties" file and setup
the parameters to point to your OBEROn database; you can choose
the proper settings following the configuration
instructions
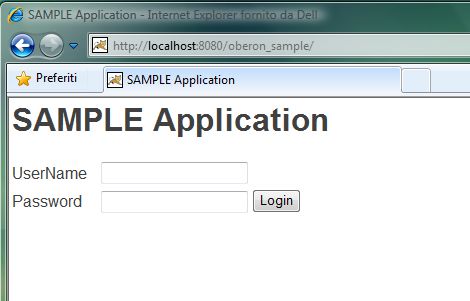
Start the java application server and open the web browser to access the application url: http://<HOST>:<PORT>/oberon_sample
If you try to login with a username and password and
you didn't define that OBEROn user you will receive a message like
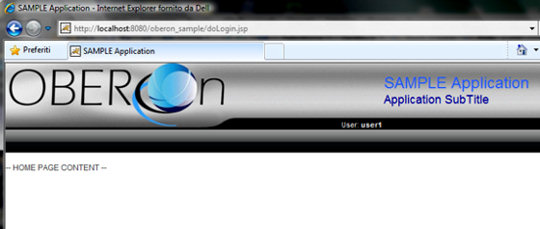
this: On the other hand, if you have already defined the user but not the menu, or if the user hasn't rights to access this application you will get a page without any command:
This mean you have first to define the application
schema using the "Context Design" client.
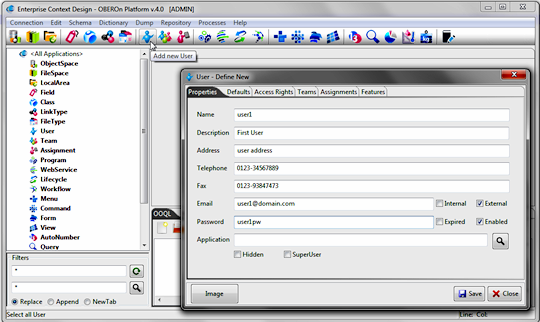
First of all you should create application users by clicking on the "Add new User" menu button and by compiling the form with the user data. This automatically will give access to the application from the web-browser login page.
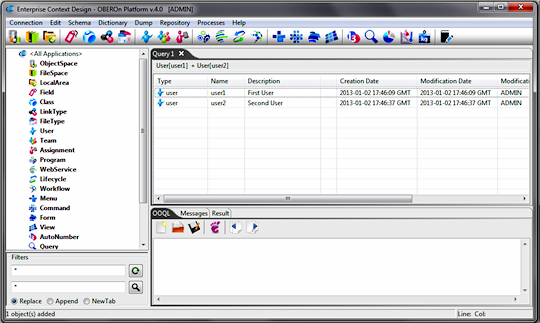
The users you have just created are added to the current tab and you can see them also expanding the User node in the administration object tree on the left.
As you saw above, access the application is not very
usefull until you don't have the ability to perform actions within
it. To define the possible actions that each user can execute inside
the application you must create a set of commands organized into
menus and submenus.
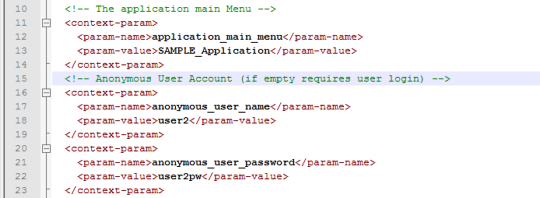
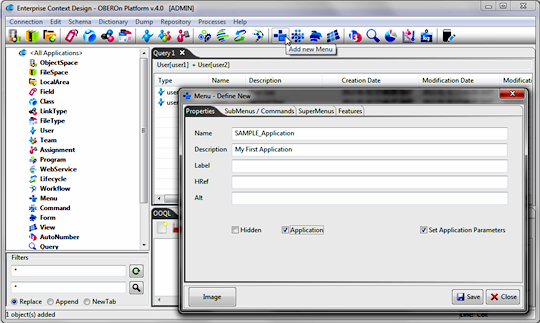
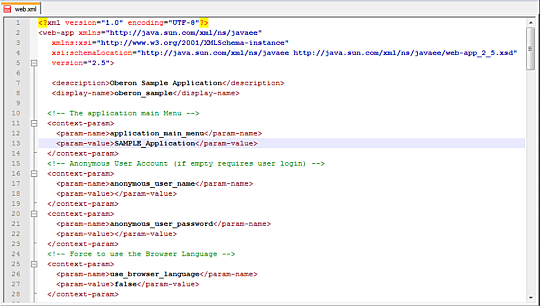
The name of the main menu node must be set also in the "web.xml" file inside the webapp/WEB-INF folder. This file includes the main application settings and in particular the "application_main_menu" that indicates the webapp to load the specified menu structure when the user accesses into the application.
Note: a web application can have a public section (where
a user accesses as anonymous) and a private section (where the user
has to insert its credential to be able to access). Both public
and private sections have a menu bar: inside the private section
the access to the menu-commands is based on the user identity, inside
the public section the menus are configured according to the "anonymous"
user grants. When a web user opens the web-site index page (generally
included in the public part) the application automatically logs
in to the OBEROn platform with the "anonymous_user" account;
so, you have to create this user inside the platform and declare
the anonymous_user_name and anonymous_user_password
into the web.xml file.
The Commands are the terminal nodes of the menu tree
and represent the menu actions: in particular a command calls a
web url to perform the related action. A command can be included
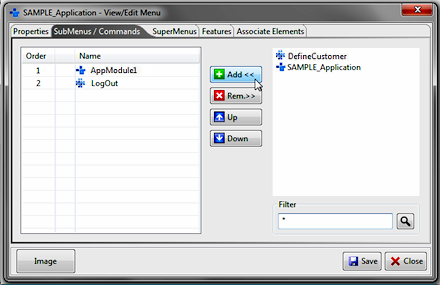
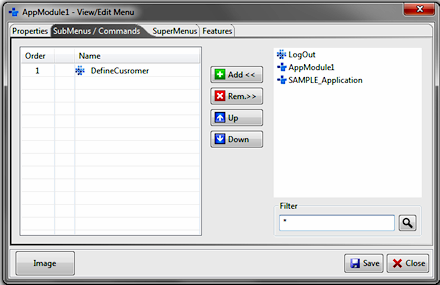
into one or more menu structures. To add a command or a sub-menu to a parent menu, you have to open the menu form (double click on the menu object from the working tab or from the administration object tree on the left) and connect the objects together by searching the command or sub-menu in the "SubMenus / Commands" tab.
The same action can be repeated for the
sub-menu to add a child menu or a command and generate the entire
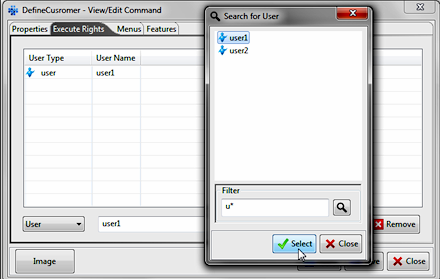
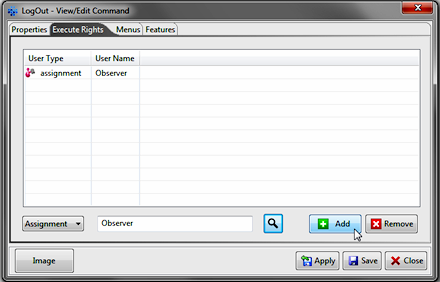
hierarchy. After completed the menu structure, you have to define the user access rights to each command, in other words, you have to indicate the users that can show a given command and so execute it. This association can be done by opening the command form and adding the enabled users in the "Execute Rights" tab.
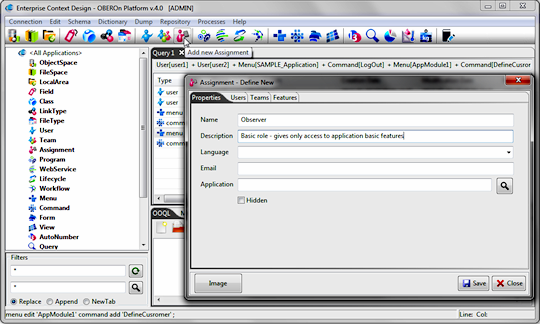
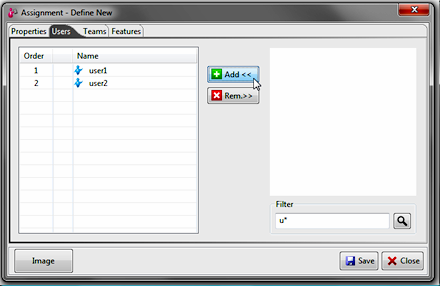
In many cases it is not convenient to directly associate a command to a user because the actions represented by the command itself must be performed by multiple users. We can then define a role/assignment (Add new Assignment button) common to multiple users and enable the command for the given role. This is also valid for all actions that can be done on the system like object creation, validation, connection, etc.
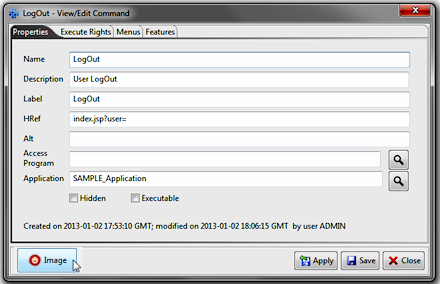
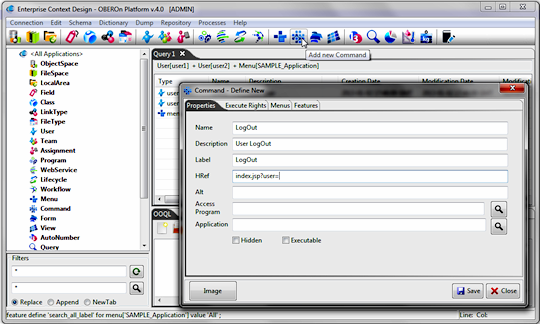
For example the LogOut command is a basic action that each user should be able to perform; in this case you can create an assignment named "Observer" and associate all defined users to it.
If you connect the assignment "Observer" to the LogOut command then all users that have this role will be able to see and execute the command.
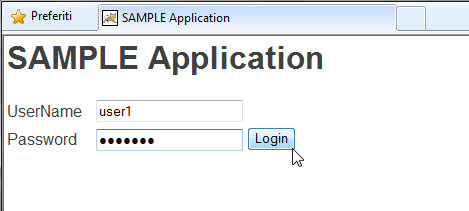
Now you are ready to access the application from a web-browser: simply login by using the username and password.
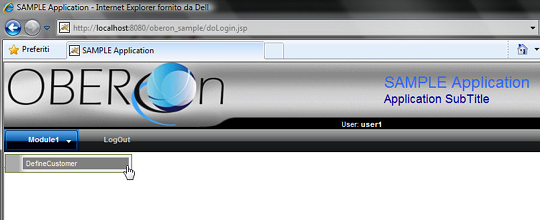
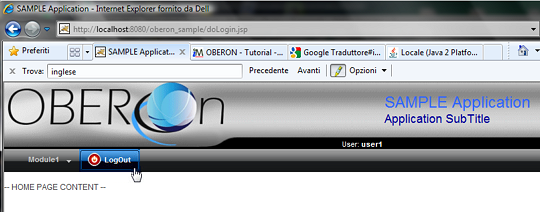
The user1 can see the Module1 and the child command DefineCustomer because he has the direct access to execute it. He can also see the LogOut command because of the indirect access rights inherited from the Observer role.
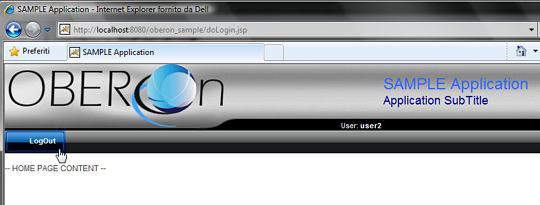
On the other hand the user2 can see only the LogOut command because he doesn't have access to the DefineCustomer command.
If your web-application has a public area and you would avoid the login for the guest users then you can create a basic user with a public menu structure and set up the application to automatically login with this user. Simply edit the web.xml configuration file as seen above and set the anonymous_user_name and anonymous_user_password parameters with the guest user account credentials. To access the restricted area you can add a LogIn command to the public menu structure with Href equal to "index.jsp?user=" (the "user" get parameter can be empty, but not null otherwise you create a loop because the simple url "index.jsp" automatically login with the guest user)
You can change the top banner or the menu style editing the images
and the style-sheet (style.css) inside the "menu_files"
folder.
NOTE:
The forms.jsp page requires the javascript
part (forms.js) and the style-sheet (forms.css) to be employed.
You can see an example of its usage into the edit.jsp code.
The previous parts are required for both the createHTMLForm and saveFormData; you can choose to create two jsp pages for the form presentation and the form action or include both methods into the same page. In this case, first you have to place the saveFormData and then the createHTMLForm. Infact, the saveFormData can recognize if you are loading the page for the first time or if you are loading it to perform the form action. If you are creating a new object instance, the saveFormData result can be the forwardPage URL with appended the new object ID in order to jump to the object visualization/edit page (edit.jsp again but with the object ID in the request).
Otherwise, if you are already in the visualization/edit
page the code execution can continue showing the form with object
values. The createHTMLForm returns the html code representing the
form filled with object values; you can directly put this code into
the html response. As we have included both methods into the same
page, the action page must be the edit.jsp page.
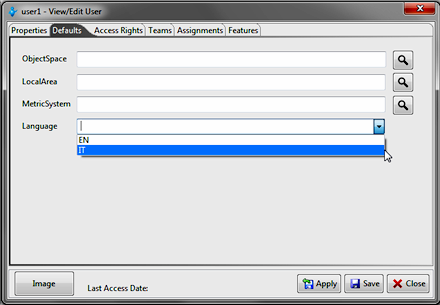
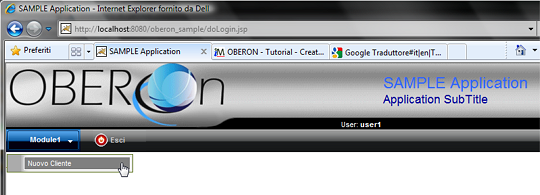
Multi-language management Label translation is usually performend according to the user default language but it is also possible to retrieve the language from the http-request (the browser language): you just have to set the "use_browser_language" option inside the web.xml file equals to "true".
The browser language codes are defined according to this standard:
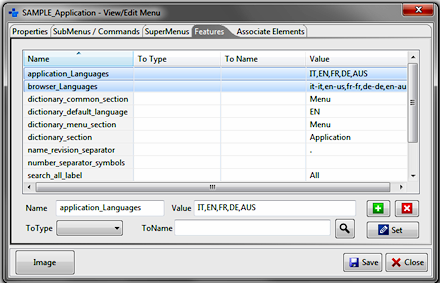
If you choosed to employ the ISO codes for the OBEROn dictionary or if the "use_browser_language" option is set to false, you don't need a mapping. Otherwise, you have to add the mapping between the OBEROn dictionary languages and the browser languages inside the application main menu features:
Features "application_Languages" and
"browser_Languages" contain the lists of the OBEROn
dictionary languages and the respective browser languages separated
by comma. The language mapping must respect the order in both lists.
Differently, if "use_browser_language" is true, you can change the application language only if you select another language from your web browser options.
|
||||||||||||||||||||||||||||||||||||||||||||||||||||||||||||||||||||||||||||||||||||||||||||||||||||||||||||||||||||||||||||||||||||||||||||||||||||||||||||||||||||||||||||||||||||||||||||||||||||||||||||||||||||||||||||||||||||||||||||||||||||||||||||||||||||||||||||||||||||||||||||||||||||||||||||||||||||||||||||||||||||||||||||||||||||||||||||||||||||||||||||||||||||||||||||||||||||||||||||||||||||||||||||||||||||||||||||||||||||||||||||||||||||||||||||||||||||||||||||||||||||||||||||||||||||||||||||||||||||||||||||||||||||||||||||||||||||||

Please Read: Privacy Policy and Terms of Use


 You
can also define an application module and collect all related command
into a sub-menu. For example, you will create a new sub-menu named
"AppModule1" with single command inside named "DefineCustomer".
This command will open a web form to generate a new OBEROn object
instance (for example a company customer).